
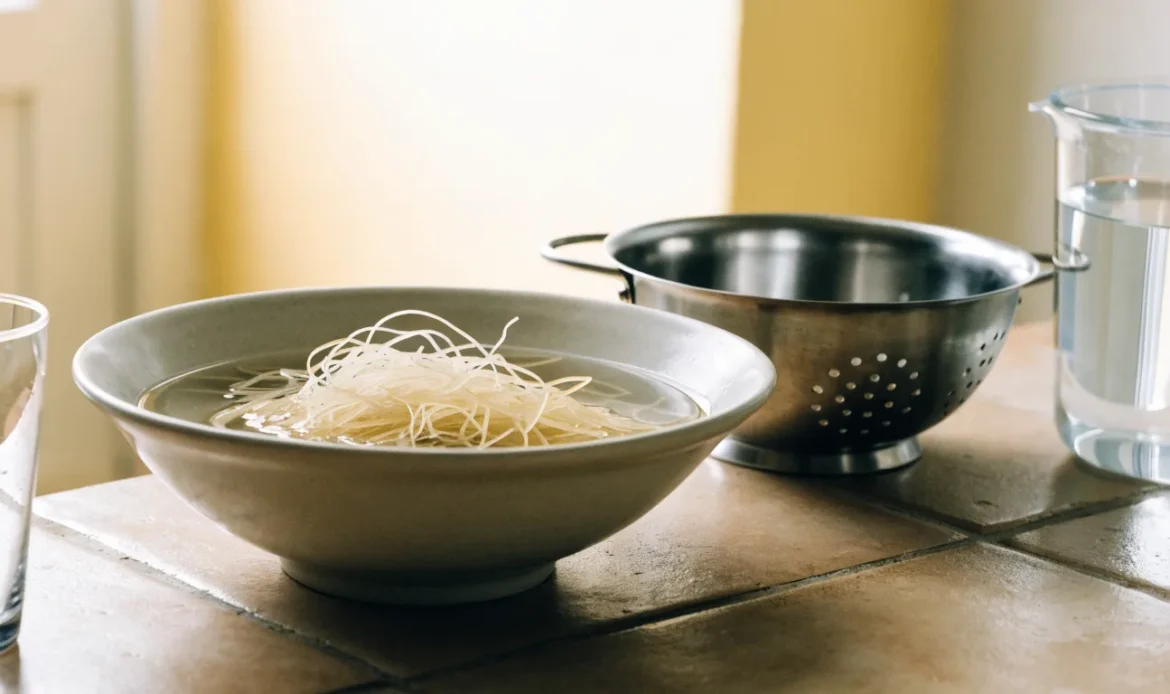
Short answer first: soak dried sea moss until it is fully soft and plump. For most dried whole pieces, that means about 12–24 hours in cool water. Smaller or thinner pieces can take less time. After soaking, rinse well and blend with fresh water to make gel.
This article answers “how long to soak sea moss” and “how long to soak sea moss before blending.” It also gives a clear checklist to pick the right soak time. Read on for step-by-step prep, safety checks, and next steps to try.
Why soak sea moss at all?
Soaking does three main things:
- It softens the dried sea moss so it blends smooth.
- It loosens sand, salt, and bits of shell or sea life.
- It rehydrates the tissue so the texture is right for gel or cooking.
Soaking is not a lab test. It won’t tell you much about origin, heavy metals, or exact iodine content. Those need lab reports or supplier information. Soaking only makes the product usable in recipes.
What determines soak time?
Several simple things change how long sea moss needs to soak:
- Form: whole dried branches take longer than small flakes.
- Age and dryness: older, very dry pieces may need more time.
- Temperature: warm water speeds softening, but may encourage spoilage.
- Salt and dirt: very salty or sandy batches often need extra rinses and time.
- Your texture goal: some people like a thicker gel and soak longer to retain firmness. Others blend with more water for a thinner gel.
Because of these factors, any soak time is a guideline. Use sight and touch to decide when it’s ready.
Typical soak time ranges (use as starting points)
These are practical ranges used by many home cooks. They are not laboratory rules.
- Thin flakes or small shredded pieces: 4–8 hours.
- Typical whole dried sea moss pieces: 12–24 hours.
- Very hard, brittle, or heavily salted pieces: 24–48 hours with water changes as needed.
Always check during soaking. The goal is soft and flexible, not slimy or rotten.
How long to soak sea moss before blending
Blend sea moss after it is fully rehydrated and clean. For most whole dried pieces, plan on 12–24 hours. After soaking:
- Drain the soak water.
- Rinse the moss under fresh cool water until the water runs clear of sand and bits.
- Remove any remaining hard pieces, shell fragments, or dark spots.
- Blend with fresh water to your preferred thickness.
If pieces still feel firm or papery after 24 hours, they need more time. If the moss smells off or has discolored patches, discard it.
Step-by-step prep and blending guide
- Inspect the product. Look for debris, large dark spots, or an off smell.
- Rinse quickly to remove surface salt and sand.
- Place in a bowl and cover with cool, clean water. Use enough water to let the pieces float and move.
- Soak for the guideline time for your product (see ranges above). Refrigeration can slow microbial growth if your kitchen is warm.
- Drain and rinse again after soaking. Pick out bits of shell and tough stems.
- Place the soaked moss and fresh water in a blender. Start with a small water amount and add until you reach the texture you want.
- Blend until smooth. You can strain if you want an ultra-smooth gel.
- Store your gel in a clean container in the fridge or freezer for longer storage.
Note: When you blend, use fresh water. Do not blend in the old soak water. The soak water contains loosened grit and salt.
Quick rinse vs. long soak: when each makes sense
- Quick rinse (for a fresh, soft product): If your sea moss was sold only lightly dried and looks soft, a short rinse and 1–4 hour soak may be enough before blending.
- Long soak (for hard, brittle, or very dry moss): If pieces are stiff or brittle, aim for 12–24 hours or longer until flexible.
- Warm water soak: Warm water speeds softening but may increase risk of off smells or early fermentation. If using warm water, check often and do not leave too long. When in doubt, soak in cool water.
Safety checks while soaking
- Smell: Sea moss usually has a mild ocean smell. A sharp, rotten, or very sour odor is a sign to discard.
- Color and texture: Look for a natural range of colors. Large discolored patches, excessive sliminess, or fuzzy mold are red flags.
- Debris: Pick out any shells or sea life parts after soaking.
- Supplier info: If you have doubts about iodine, heavy metals, or testing, ask the supplier for lab reports or product information. Soaking will not remove chemical contaminants.
Medical note (simple): Seaweeds can contain higher amounts of iodine than many land plants. People with thyroid conditions, those who are pregnant, or anyone on iodine-restricted diets should consult a clinician before eating seaweed products regularly [1][2][3][5]. We are not giving medical advice. Ask a professional for personal questions.
Practical decision checklist: How long to soak sea moss
Use this checklist to pick a soak time. Work top to bottom. Check at the end of the chosen time and decide to continue or stop.
- Product form:
- Flakes or shredded: start 4–8 hours.
- Whole branches: start 12–24 hours.
- Feel test after initial soak:
- Soft and flexible? Proceed to rinse and blend.
- Still firm or papery? Add 12 more hours and recheck.
- Visual cleaning:
- Sand or debris visible? Rinse and repeat soak if needed.
- Many shell fragments? Soak longer and hand-pick.
- Smell check:
- Mild ocean smell: okay to continue.
- Sour, rotten, or strong off odor: discard.
- Storage plan:
- Plan to blend into gel for fridge use? Blend after above checks.
- Plan to use directly in cooking? Ensure texture is right for recipe.
- Health considerations:
- Thyroid issues, pregnancy, or iodine sensitivity? Consult a clinician before frequent use [2][5].
Use the checklist for each new batch. Soak times can vary from bag to bag.
Decision table: Soak time by common situation
- Situation: Thin flakes; Goal: quick blend -> Soak 4–8 hours.
- Situation: Typical dried branches; Goal: gel -> Soak 12–24 hours.
- Situation: Very hard or salty batch; Goal: clean and soft -> Soak 24–48 hours with water changes.
- Situation: Warm kitchen; Goal: safe soak -> Refrigerate while soaking or shorten soak and check more often.
- Situation: In doubt about smell or color; Goal: safety -> Discard if off.
This table is a practical guide. Always inspect as you go.
How to tell when sea moss is ready to blend
Sea moss is ready when:
- Pieces are soft, pliable, and plump.
- No hard central stems remain.
- You can squeeze a piece and it bends easily.
- There is no strong off smell.
If you need a firmer gel, stop soaking when they are just soft. If you prefer a very smooth blend, ensure they are fully plump before blending.
Can you soak sea moss too long?
Yes and no. Soaking longer than needed can:
- Make the texture excessively soft.
- Increase chances of souring if water sits warm.
- Not remove chemical contaminants or iodine.
If the moss is soaking in cool water and has no bad smell, extending soak by a day usually just makes it softer. If the water smells bad or the moss develops slimy or fuzzy patches, discard it.
Soaking in the refrigerator vs. room temperature
- Fridge soak: Slower softening. Safer in warm environments. Good if you plan to soak 24+ hours.
- Room temp soak: Faster softening. Check often. Use only in cooler kitchens or for short soaks.
Both approaches work. Use fridge soaking when you will leave it long or if your kitchen is hot.
Common mistakes and how to avoid them
- Mistake: Blending in the soak water. Fix: Always use fresh water for blending.
- Mistake: Not rinsing debris. Fix: Rinse thoroughly after soak and pick out shells.
- Mistake: Using warm water and leaving it too long. Fix: Check often and refrigerate if soaking long.
- Mistake: Ignoring off smells. Fix: Discard material with bad odors or visible mold.
Using soaked sea moss in recipes
After soaking and blending, you can:
- Make gel for smoothies and recipes.
- Add to soups or sauces.
- Use as a thickener in cooking.
The amount of water you add when blending sets the gel thickness. Start with less water for a thicker gel, then add more if needed.
What soaking cannot tell you
Soaking does not reveal:
- Iodine content or heavy metal levels.
- Whether the product passed safety tests.
- Precise nutritional levels.
For those questions, ask your supplier for lab reports or third-party testing. If a supplier cannot provide testing info and you need it for health reasons, consider choosing a supplier that does test.
Safety and iodine: what to know
Seaweeds can contain variable amounts of iodine. Eating seaweed repeatedly can lead to higher iodine intake than other foods. If you have a thyroid condition, are pregnant, or have concerns, consult a clinician. Sources that study seaweed and iodine point to variability and potential for high iodine in some products [1][2][3][5]. We do not give medical advice here. Check with a health professional for personal guidance.
For general product safety, look for suppliers who share testing information and ask questions about harvest and processing practices.
Next practical steps
If you want to keep learning:
- Read a step-by-step gel recipe on our Learn hub: /learn/
- Shop sea moss varieties and product info: /shop/
- Interested in larger quantities? Learn about wholesale options: /wholesale/
- Questions about our products or ordering? Contact us: /contact/
- Back to our home page: /
These links will help you find more product details and guides.
Conclusion
Soaking sea moss softens it and cleans out sand and debris. For most whole dried pieces, aim for about 12–24 hours. Thin pieces can be ready in 4–8 hours. Use touch, sight, and smell to decide when to stop soaking. Blend with fresh water for gel or cooking. If you have thyroid concerns or other health questions, ask a clinician and check supplier testing for iodine and contaminants. Use the checklist above to choose a soak time that fits your product and needs.
If you want more step-by-step recipes or product options, visit our Learn hub: /learn/ or browse our shop: /shop/. For bulk orders or questions about supply, see /wholesale/ or contact us at /contact/.
Continue reading
Frequently asked questions
How long should I soak sea moss before blending for smoothies?
For most whole dried pieces, soak 12–24 hours, rinse, then blend with fresh water. Thin pieces may take 4–8 hours.
Can I soak sea moss in warm water to speed it up?
Warm water softens faster but can cause off smells if left. If you use warm water, check the moss often and do not leave it unattended for long periods.
Do I need to change the water while soaking?
Change the water if it gets very cloudy with visible grit. For long soaks, rinsing and refreshing the water helps remove sand and salt.
How do I know when soaked sea moss is bad?
Toss it if you smell a rotten or sharp sour odor, or if you see fuzzy mold or odd discoloration. A mild ocean smell is normal.
Will soaking remove iodine or heavy metals?
No. Soaking removes sand and softens the moss. It does not remove iodine or chemical contaminants. Ask your supplier for testing info if these are concerns [1][2][3][5].
Can I soak sea moss in the fridge?
Yes. Refrigeration slows microbial growth and is a good idea for soaks longer than 12 hours or in a warm kitchen.
References
- [1] Harvard T.H. Chan School of Public Health, “Seaweed.” https://nutritionsource.hsph.harvard.edu/seaweed/
- [2] Smyth PPA. “Iodine, Seaweed, and the Thyroid.” European Thyroid Journal, 2021. https://pmc.ncbi.nlm.nih.gov/articles/PMC8077470/
- [3] Food Standards Australia New Zealand, “Survey of iodine levels in seaweed and seaweed containing products,” updated 2025. https://www.foodstandards.gov.au/science-data/monitoring-safety/surveyofiodinelevels
- [4] Operation Supplement Safety, “Sea Moss in Dietary Supplements.” https://www.opss.org/article/sea-moss-dietary-supplements
- [5] Blikra MJ et al. “Consequences of acute and long-term excessive iodine intake: A literature review focusing on seaweed as a potential dietary iodine source.” 2024. https://doi.org/10.1111/1541-4337.70037