
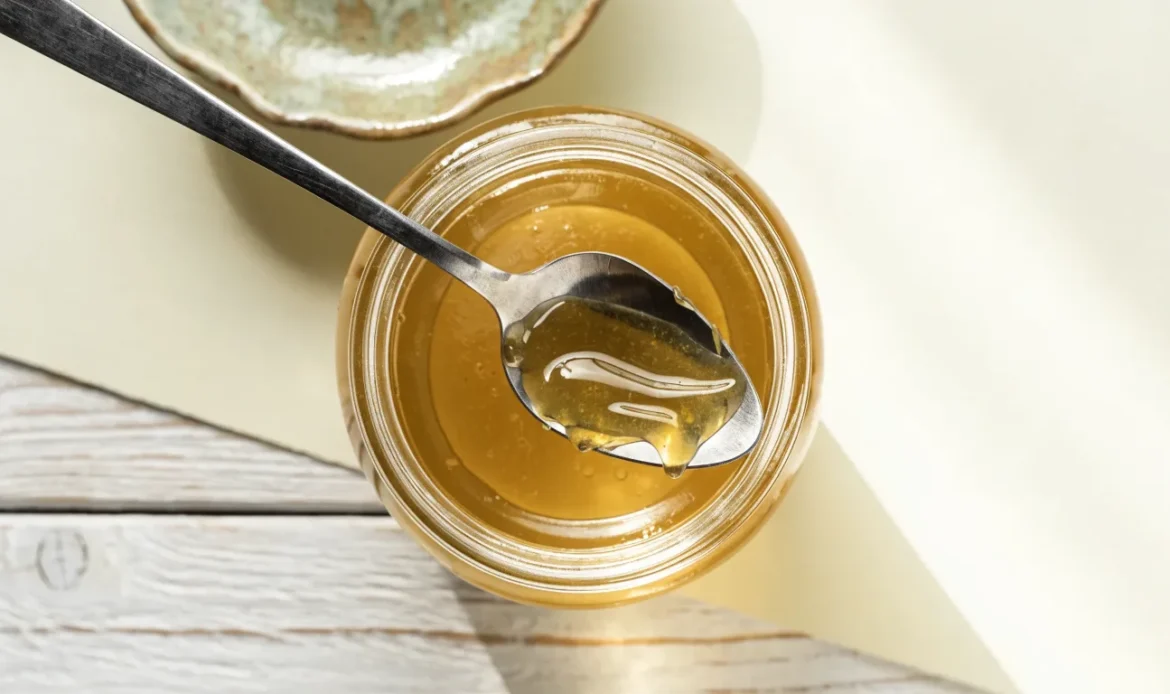
Short answer: Rinse dried sea moss, soak it in fresh water for 8–24 hours, rinse again, then blend with fresh water until smooth. Chill to let it thicken. Use clean tools and check the gel before each use.
This guide gives step-by-step instructions. It also covers safety, sourcing checks, flavor ideas, and how to scale a batch. Read the safety notes about iodine and contaminants before you start.
What is sea moss (quick overview)
Sea moss is a name for several types of red seaweed. People use it in food and drinks. It can turn into a soft gel when mixed with water and chilled. Seaweed in general contains minerals and other compounds. How much of any nutrient is in a given piece of seaweed varies a lot by species and where it was grown [1].
If you want to learn more about seaweed types and uses, see our learning pages at /learn/ and our recipes at /learn/recipes/.
Before you start: sourcing and safety basics
Buy from a supplier you trust. Dried sea moss can come with bits of sand, shells, or small debris. It can also carry variable amounts of iodine and other minerals. The iodine content in seaweed varies by species, harvest site, and processing. Some seaweeds can be high in iodine. That matters if you have a thyroid condition or take medicines that affect thyroid function. If you have questions about iodine or medical risks, talk to a health professional [2][5].
Surveys show iodine levels in seaweed products vary widely. This means you cannot assume one brand has the same iodine level as another [3]. Some safety guides recommend caution when taking concentrated seaweed products or supplements. That same caution applies to homemade sea moss gel if you plan to eat it often or in large amounts [4].
Check product labels and ask sellers about where and how the sea moss was harvested. If a seller provides testing or clear sourcing information, that helps you make a choice. Zen Wholesalers has product pages in /shop/ and can answer wholesale questions at /wholesale/ or contact us via /contact/.
Ingredients and tools
Ingredients
- 1 cup dried sea moss (loosely packed) — this is a common starting measure.
- Fresh, filtered water for soaking and blending.
- Optional: 1/2 to 1 cup liquid for blending (see ratios below).
- Optional add-ins: lime or lemon juice, fresh ginger, vanilla extract, coconut water, or a small amount of sweetener.
Tools
- Large bowl or jar for soaking.
- Clean strainer.
- Measuring cups.
- High-speed blender (recommended) or a regular blender.
- Airtight jars or containers for storage.
- Kitchen scale (optional, useful when scaling).
Notes on types: Different red seaweeds—such as Chondrus crispus and Gracilaria species—are used to make gels. Texture and set strength can vary by type and by how long the seaweed soaked. If you buy a new seaweed type, make a small test batch first.
Two basic methods: cold-blend and hot-blend
There are two common ways to make sea moss gel. Both work. Choose based on your tools and preference.
Cold-blend method (no cooking)
- Keeps raw enzymes intact (some people prefer this).
- Simpler and faster to do at home.
- Still requires a thorough soak and good hygiene.
Hot-blend method (brief cooking)
- You rinse, then simmer or boil briefly before blending.
- Heat can reduce microbial load.
- Can soften very firm sea moss faster.
Both methods require careful cleaning and rinsing. If you are concerned about microbes or want extra safety steps, use the hot-blend method.
Step-by-step sea moss gel recipe (cold-blend)
This recipe uses the cold-blend method. Adjust water for desired thickness.
- Inspect and rinse
- Spread the dried sea moss on a clean surface.
- Remove obvious debris or hard bits.
- Rinse under cool running water until the visible sand is gone.
- Soak
- Place rinsed sea moss in a bowl or jar.
- Cover with fresh water so the sea moss is fully submerged.
- Let it soak 8–24 hours at room temperature. It will expand and soften.
- Tip: A longer soak softens tougher pieces. Change the water if it becomes cloudy.
- Final rinse and drain
- After soaking, drain the soaking water.
- Rinse again under cool water and squeeze gently to remove any remaining grit.
- Prepare for blending
- Add the drained sea moss to a blender.
- Add fresh liquid. Common starting ratios:
- 1:1 (soaked sea moss: water) for a firmer gel.
- 1:2 for a softer, more fluid gel.
- Example: For 1 cup of soaked sea moss, start with 1 cup water for firm gel or 2 cups water for a looser gel. Adjust as you blend.
- Blend
- Blend on high until the mixture is smooth and uniform.
- Scrape down the blender as needed.
- Add flavorings now if you like: a squeeze of lime, a slice of ginger, a splash of vanilla, or 1/2 cup coconut water.
- Cool and set
- Pour the blended gel into clean jars or containers.
- Let it cool to room temperature, then chill to let it thicken.
- Label and store
- Keep containers sealed in the fridge or freeze portions for longer storage.
- Check the gel before each use for off smells, mold, or odd texture. Discard if it looks or smells off.
If you prefer the hot-blend method, simmer the clean sea moss in fresh water for 5–10 minutes before blending. Simmering times vary. Use care and cook just until softened.
Troubleshooting
- Grainy texture: Blend longer or add a small amount of hot water (if using hot-blend, blending after a brief simmer helps).
- Too thick: Stir in a little water and re-blend until you reach the texture you want.
- Too thin: Use less water next time or chill to let it set more firmly. You can also add more soaked sea moss and blend again.
- Off smell or color change: Stop using the batch. Discard it—do not taste questionable samples.
Scaling and batch tips
To make larger batches, keep the same ratios of soaked sea moss to blending liquid (commonly 1:1 to 1:2). Use larger, sanitized containers and a blender capacity suited to the volume. Work in smaller batches if your blender is not high-capacity.
When you scale up, pay attention to hygiene:
- Wash hands and sanitize surfaces.
- Use clean utensils and jars.
- Cool hot batches before sealing to avoid pressure build-up.
If you are making many jars for others or for sale, check local food-safety rules and labeling requirements. For business inquiries, see our wholesale info at /wholesale/ or contact us at /contact/.
Flavor variations and culinary uses
Sea moss gel is a neutral base. Try these simple ideas:
- Coconut lime: blend with coconut water and a squeeze of lime.
- Berry boost: blend a small amount of berry puree into the gel.
- Ginger vanilla: add fresh grated ginger and a drop of vanilla extract.
- Smoothie add-in: add a tablespoon or two to fruit smoothies for texture.
Avoid heating the gel to very high temperatures for long periods. Heat can thin the gel again.
Checklist: Sea Moss Gel Prep
- Clean workspace and hands
- Rinse and remove debris
- Soak 8–24 hours in fresh water
- Final rinse and drain
- Choose cold-blend or hot-blend
- Measure sea moss and liquid (start with 1:1–1:2)
- Blend until smooth
- Pour into clean containers
- Cool, label, and store
- Inspect each jar before use (smell, color, texture)
Use this checklist each time to keep your process consistent.
Storage and food-safety guidance
Store sea moss gel in clean, airtight containers. Keep it cold after it cools. Freezing in small portions (for example, ice-cube trays) makes it easy to thaw small amounts.
Do not leave homemade gel at room temperature for long periods. Always check jars before using. Signs that a jar may be unsafe:
- Sour or unusual smell
- Visible mold or fuzzy spots
- Dark or unusual color change
- Slimy or stringy texture that was not present before
If any of these signs appear, discard the jar. Use good kitchen hygiene when preparing and storing gel.
Remember: iodine and mineral levels vary between seaweeds and batches. If you plan to consume sea moss gel frequently or in large amounts, ask your supplier about testing and consider discussing it with a health professional because high iodine intake can be important for people with thyroid conditions [2][3][5].
Substitutions and pairings
- Liquid swap: Use filtered water, coconut water, or light fruit juice. Coconut water gives a mild sweetness.
- Sweeteners: Add a little natural sweetener when blending if desired.
- Thickeners: If you want a firmer gel without adding more sea moss, chill it well or use less liquid.
- Other seaweeds: Different seaweeds behave differently. Try a small batch when you switch kinds.
Do not assume that different seaweeds are interchangeable for iodine content or flavor. Each type has its own profile.
Decision guide: Should you make your own gel?
Use this quick guide to decide.
- You want control over ingredients and flavor → Make your own gel.
- You want convenience or tested iodine levels → Consider buying from a supplier who provides testing or clear sourcing info. See /shop/ for options.
- You have a thyroid condition or take thyroid medicines → Talk with a health professional before regular use. See references [2][5].
- You plan to produce many jars or sell them → Check local food-safety rules and contact /wholesale/ or /contact/ for guidance on business questions.
Conclusion
Making sea moss gel at home is straightforward. Rinse well, soak until soft, then blend with fresh liquid. Choose cold-blend or hot-blend depending on your needs. Pay attention to sourcing and food-safety. Because iodine and mineral content can vary widely, ask questions about where your sea moss came from and talk to a healthcare professional if you have thyroid concerns. For more recipes and ideas, visit our recipe hub at /learn/recipes/ or learn more about sea moss at /learn/. If you want to buy or ask about bulk ordering, check /shop/ and /wholesale/, or reach out through /contact/.
Continue reading
Frequently asked questions
How long do I need to soak dried sea moss?
Soak until it softens and expands. Many home cooks soak 8 to 24 hours. A longer soak tends to soften tougher pieces. Change the soak water if it becomes cloudy.
Can I cook the sea moss instead of cold-blending?
Yes. Simmering or briefly boiling the rinsed sea moss before blending is a common alternative. Heat can help soften the seaweed and reduce microbial load. Blend after it cools slightly.
Is it safe to eat sea moss gel every day?
Seaweed can be a source of iodine. Iodine levels vary widely between seaweed species and batches. If you plan frequent or large servings, discuss this with a healthcare provider and check product sourcing or testing information [2][3][5].
How do I know if a batch is bad?
Signs include an off or sour smell, visible mold, a strange color change, or an odd texture. If you see any of these, discard the batch.
Can I freeze sea moss gel?
Yes. Freezing in small portions makes it easy to thaw what you need. Use proper freezer-safe containers. Thaw in the refrigerator before using.
Does cooking destroy the benefits of sea moss?
Cooking changes texture and some heat-sensitive compounds. Some people prefer raw (cold-blend) gel for that reason. Others prefer the perceived safety of briefly cooking. The choice depends on taste and comfort with raw preparations.
References
- [1] Harvard T.H. Chan School of Public Health, “Seaweed.” https://nutritionsource.hsph.harvard.edu/seaweed/
- [2] Smyth PPA. “Iodine, Seaweed, and the Thyroid.” European Thyroid Journal, 2021. https://pmc.ncbi.nlm.nih.gov/articles/PMC8077470/
- [3] Food Standards Australia New Zealand, “Survey of iodine levels in seaweed and seaweed containing products,” updated 2025. https://www.foodstandards.gov.au/science-data/monitoring-safety/surveyofiodinelevels
- [4] Operation Supplement Safety, “Sea Moss in Dietary Supplements.” https://www.opss.org/article/sea-moss-dietary-supplements
- [5] Blikra MJ et al. “Consequences of acute and long-term excessive iodine intake: A literature review focusing on seaweed as a potential dietary iodine source.” 2024. https://doi.org/10.1111/1541-4337.70037