
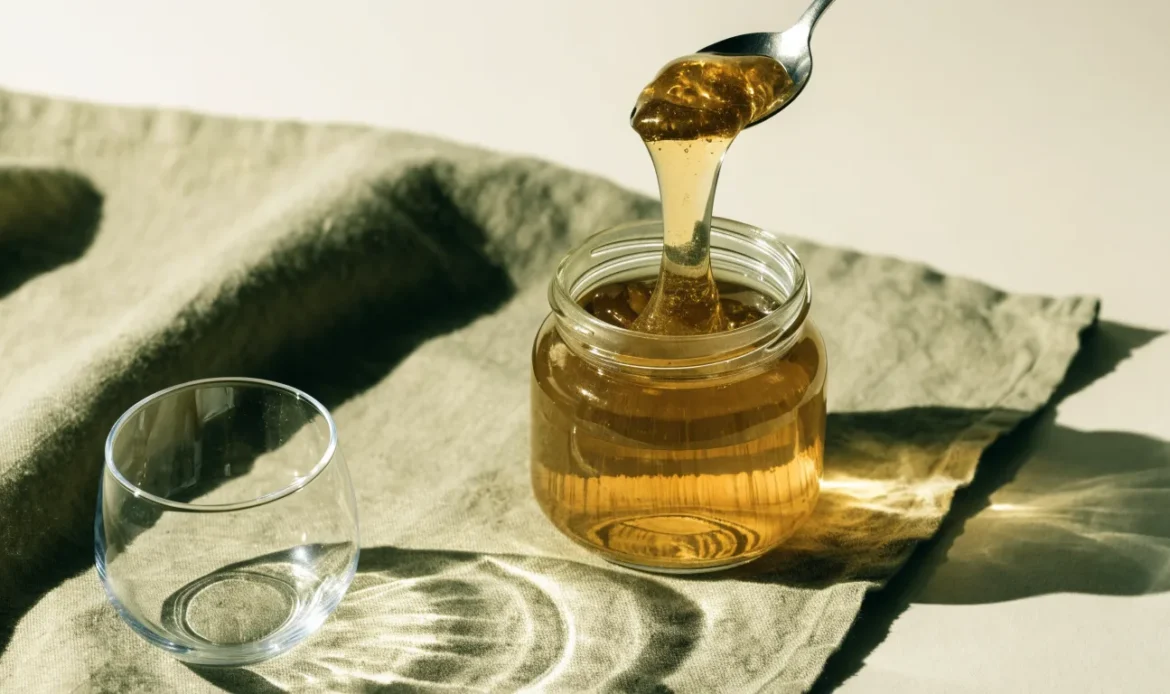
Short answer: Yes—you can make seamoss gel from dried sea moss. The main steps are to clean the dried sea moss, soak it until fully rehydrated, blend it with clean water (or another liquid) to the texture you like, and cool it until it sets. Follow food-safety steps and check the gel before use.
Why this page: This guide shows a repeatable method. It gives practical choices for texture and flavor. It also explains food-safety points and what the science says about variable components like iodine. Use what follows whether you buy sea moss from us or elsewhere.
What you need (ingredients and tools)
Simple, common kitchen tools and a few white-label ingredients work well.
Ingredients
- Dried sea moss (clean, dry pieces or chips)
- Clean, cold water for rinsing and soaking
- Optional: fresh water, juice, coconut water, or plain filtered water for blending
- Optional: flavorings—e.g., plain vanilla, citrus zest, cinnamon, or a little sweetener
Tools
- Large bowl (non-reactive: glass or food-grade plastic)
- Clean colander or fine mesh strainer
- Knife and cutting board (optional, to trim)
- Blender (high-speed blenders make a smoother gel)
- Airtight jars or containers for refrigerated storage
- Spoon and measuring cup or kitchen scale (helpful, not essential)
- Refrigerator and freezer if you plan to store
Before you start: Wash hands and sanitize surfaces and tools. Clean tools lower the chance of spoilage.
Step-by-step: How to make seamoss gel from dried sea moss
- Inspect the dried sea moss.
- Look for pieces that are free of obvious dirt or shells. Small bits of sand or shell are possible. Trim any dark or slimy parts away.
- If the product has a label, read storage and preparation notes from the seller.
- Rinse well.
- Place the sea moss in a colander.
- Rinse under cool running water and move the pieces around to remove visible dirt or bits.
- Soak to rehydrate.
- Put the rinsed sea moss in a bowl. Cover it with clean, cool water so it can rehydrate and expand.
- The sea moss will soften and change shape as it soaks. Use enough water so the pieces float and move freely.
- After soaking, drain and rinse again. Reserve some of the soaking water if you want extra mineral flavor in the blend.
- Trim and separate.
- Check the soaked sea moss. Trim any uncertain bits. Pull apart clumped pieces so blending is easier.
- Blend to a smooth gel.
- Add soaked sea moss to your blender.
- Add liquid. Start with a smaller amount for thicker gel. Add more for a thinner, more pourable gel.
- Blend until smooth. A high-speed blender gives a creamier texture.
- If you like a flavored gel, add a small amount of juice, vanilla, or a pinch of spice while blending.
- Cool and set.
- Transfer the blended mixture into clean airtight jars.
- Allow it to cool to room temperature, then refrigerate. The gel will thicken as it chills.
- Store and label.
- Keep jars sealed. Label with the date and the liquid used.
- Check before each use. If it looks or smells off, discard.
Notes on liquids:
- Plain filtered water gives a neutral gel.
- Coconut water or fruit juice adds flavor and a different mouthfeel.
- If you keep a little of the soaking water, you will have a slightly different flavor and mineral mix.
Tips for soaking and texture choices
Soaking matters. It rehydrates the fibers and releases surfaces trapped with sand or salt. Here are simple ways to control the final texture.
- Thicker gel: Use less liquid when blending. A thicker gel can be spooned out and used as a topper or thickener.
- Thinner gel: Use more liquid and blend longer. This works well for pouring into drinks.
- Smooth gel: Use a high-speed blender and strain if you see bits you don’t like.
- Chunky or textured gel: Pulse the blender for a chunkier result.
Decision guide: choose the gel style you want
| Goal | Liquid amount (relative) | Blender action |
|---|---|---|
| Thick, spoonable gel | Low liquid | Blend until smooth |
| Pourable gel for drinks | Medium liquid | Blend well; add extra liquid if needed |
| Thin mixing liquid | Higher liquid | Blend until fully combined |
(“Liquid amount” means how much water or other liquid you add compared with the soaked sea moss. Start lower. You can always add more.)
Practical preparation checklist
- Clean work area and tools.
- Rinse dried sea moss thoroughly.
- Soak until rehydrated; change water if it looks very cloudy.
- Inspect and trim unwanted bits.
- Reserve some soaking water if desired.
- Blend with chosen liquid until smooth.
- Cool to set, then refrigerate in airtight containers.
- Label with date and contents.
- Check appearance and smell before use.
Keep this checklist on a phone or printed near your kitchen for repeatable results.
Food safety and storage — what to check and why
Sea moss is a food. Treat it like other perishable kitchen items.
Cleanliness
- Use clean hands and clean tools. This reduces the chance of introducing bacteria.
Smell, color, and texture checks
- After blending and as you store the gel, look for changes in smell, unusual colors, or sliminess that looks different from the normal gel texture. If anything seems off, discard the jar.
Refrigeration and freezing
- Keep the gel refrigerated. For longer storage, freeze it in small portions. Label containers with the date of preparation.
- Freezing can change the texture slightly but it’s a practical way to keep portions.
Avoid cross-contamination
- Use clean spoons each time you dip into a jar. Do not eat directly from shared jars to avoid introducing foodborne microbes.
Why iodine and other variability matter
- Seaweeds vary in mineral and iodine content depending on species and where they were harvested. Iodine levels can be high in some seaweeds. This variability is not easy to predict from sight or smell alone. If you have a thyroid condition or take medication that could be affected by iodine, ask a health professional before adding large amounts of seaweed products to your diet. The literature notes that iodine in seaweed is variable and can sometimes be high [1][2][3][5].
- Vendors and food-safety agencies also monitor iodine in seaweed products. If this is a concern, choose products with specific testing or clear labeling, or consult a health professional before use [3][4].
(References for iodine and variability are in the References section.)
Flavoring and culinary uses (non-medical)
Seamoss gel acts like a thickener. It also blends smoothly into cold foods.
Ways to use the gel
- Smoothies and shakes: add a spoonful or two for thickness and texture.
- Soups and stews: stir in a small amount as a thickening agent near the end of cooking. Heat may change the gel’s texture.
- Baked goods: use small amounts in batters for moisture (test recipes first).
- Sauces and dressings: blend for a stable texture.
- Cold desserts: use in puddings or chilled desserts as a binder.
Flavor options
- Citrus, vanilla, cinnamon, or fruit blends can mask seaweed flavor if desired.
- Coconut water adds a sweet, tropical note.
- Keep additions small. Test a small batch before making a large jar.
Reminder: This section is about culinary uses and texture. It is not meant to make nutritional or health claims.
Troubleshooting — common problems and fixes
Problem: Gel is grainy or has bits left.
Fix: Blend longer. Strain through a fine mesh if you want a silky texture.
Problem: Gel smells strong or unpleasant after blending.
Fix: Rinse the sea moss more thoroughly next time. If stored gel smells off at any time, discard it.
Problem: Gel is too thin.
Fix: Blend in more soaked sea moss or reduce the liquid next time. Chill—cold thickens gels.
Problem: Gel is too thick.
Fix: Add a little liquid and blend again.
Problem: Gel changes color or shows mold.
Fix: Discard immediately. Clean containers and utensils. Make a fresh batch with sanitized jars.
Buying and quality checks for dried sea moss
When you buy dried sea moss, check these things:
- Appearance: Pieces should look dry and not slimy. Colors vary by species and drying method.
- Smell: A mild ocean smell is common. Extremely strong or rotten smells are a red flag.
- Seller information: Look for clear instructions on how to prepare and store the product. Reliable sellers provide handling guidance.
- Packaging: Clean, sealed packaging reduces the risk of contamination.
What you cannot tell by looking
- You cannot determine iodine level, heavy metal content, or microbial safety by sight alone. Those require laboratory testing. If you need a product with specific lab tests, ask the seller for certificates or test results.
Substitutions and alternatives
- If you do not want to use plain water, try coconut water, fruit juice, or plant milk. These change flavor and sweetness.
- If you want a different thickener, common food thickeners include gelatin, agar-agar, or cornstarch — but these work differently and are not the same product as sea moss gel.
- If sea moss is not available, look for other seaweed products that are labeled for food use. Note that different seaweeds have different flavors and properties.
What checks should you do before eating someone else’s seamoss gel?
- Ask how it was stored and for how long.
- Ask if plain water or another liquid was used.
- Smell and look at it. If the host can’t share how it was stored, you might politely decline.
- When in doubt, don’t eat it.
Decision guide: When to buy dried sea moss vs pre-made gel
- Buy dried sea moss if:
- You want to control the water and flavor.
- You want a long shelf-stable product before opening.
- You plan to make batches at home.
- Buy pre-made gel if:
- You want convenience and immediate use.
- You prefer not to handle the soaking and blending steps.
No option is universally safer — check labeling, handling, and storage for any product you purchase.
Conclusion
Making seamoss gel from dried sea moss is a simple kitchen process: clean, soak, blend, and chill. The main choices are the liquid you blend with and how thick you want the final gel. Pay attention to cleanliness, storage, and signs of spoilage. If you have health concerns related to minerals like iodine, consult a health professional because seaweed’s mineral content varies. Use the checklist and troubleshooting tips here to make a repeatable batch.
If you want more recipes or places to buy supplies, see our learning resources and shop pages:
- Home
- Recipes and how-tos
- Learn more about seaweed
- Shop sea moss products
- Contact us for wholesale or questions
Frequently asked questions
Can I make seamoss gel quickly?
You can speed blending, but drying and soaking take time to rehydrate the seaweed fully. Quick methods may give a different texture. Rinse and soak properly for the best result.
Do I need to cook sea moss before making gel?
No. Soaking fully rehydrates the dried pieces. Cooking is not required for a cold gel. If you plan to add the gel to hot recipes, you can add it near the end of cooking or use it raw depending on the recipe.
How do I know if my seamoss gel has gone bad?
Look and smell. Mold growth, unusual sliminess, or rotten smells are signs to discard. If you see any off changes, do not taste to test.
Is all sea moss the same?
No. Seaweeds differ by species, color, texture, and mineral content. Dried sea moss sold for food may come from different sources and will not be identical.
Does the soaking water contain useful minerals?
The soaking water will contain some of the seaweed’s soluble components. You may choose to use some or all of this water when blending for flavor. If you are concerned about mineral or iodine content, know that levels vary and consult a professional.
Do I need a special blender?
A high-speed blender gives the smoothest gel, but a standard blender will work too. Blend until you reach the texture you want.
References
- [1] Harvard T.H. Chan School of Public Health, “Seaweed.” https://nutritionsource.hsph.harvard.edu/seaweed/
- [2] Smyth PPA. “Iodine, Seaweed, and the Thyroid.” European Thyroid Journal, 2021. https://pmc.ncbi.nlm.nih.gov/articles/PMC8077470/
- [3] Food Standards Australia New Zealand, “Survey of iodine levels in seaweed and seaweed containing products,” updated 2025. https://www.foodstandards.gov.au/science-data/monitoring-safety/surveyofiodinelevels
- [4] Operation Supplement Safety, “Sea Moss in Dietary Supplements.” https://www.opss.org/article/sea-moss-dietary-supplements
- [5] Blikra MJ et al. “Consequences of acute and long-term excessive iodine intake: A literature review focusing on seaweed as a potential dietary iodine source.” 2024. https://doi.org/10.1111/1541-4337.70037