
Short answer
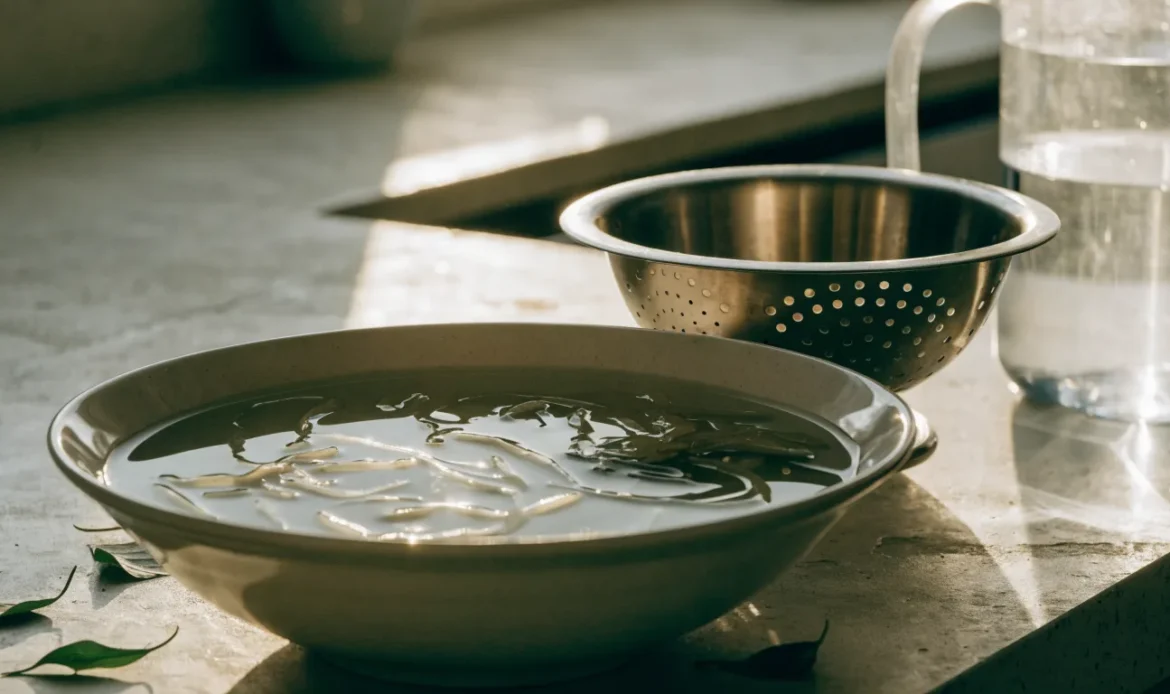
Rinse forehead-deep in clean water, remove visible debris, then soak in fresh water for 8–24 hours while changing the water once or twice. Rinse again, pick out anything left, and proceed to cook or blend. Use potable water, clean tools, and keep the moss cold once prepared.
Why this short answer works: it gives the practical steps you can act on now. Below you’ll find a detailed, step-by-step process for dried and fresh sea moss, safety notes, a decision checklist to pick the right cleaning route, and links to the next guides you might want.
Quick checklist: what to have and what to check first
- Clean sink or large bowl. Use only potable (drinkable) water.
- Colander or mesh strainer.
- Sharp kitchen scissors or a small knife for trimming.
- Clean glass or food-grade container for soaking.
- Refrigerator space to chill prepared moss.
- Time: plan 8–24 hours for soaking dried moss; less for fresh.
If the sea moss came pre-cleaned, check the seller’s instructions. Even pre-cleaned moss benefits from a quick rinse in your own water.
What to check before you start
- Look at the product. Are there shells, sand, or dark dirt specks? These need to be removed.
- Smell it. Sea moss should smell mildly ocean-like. A sour, rotten, or very strong fishy smell is a reason to be cautious.
- Note packaging instructions. Some sellers give a cleaning or soaking window specific to their product.
What you cannot prove by sight or smell: whether the moss has high iodine, heavy metals, or microbes. Those need lab analysis. If you are concerned about iodine intake or contaminants, check vendor lab results or consult a trained specialist. Sources show iodine content can vary a lot across seaweed types and locations [1][3][5].
How to clean dried sea moss — step-by-step
This is the most common form people buy. Dried sea moss is lightweight and stores well. Cleaning it well removes sand and debris and rehydrates the moss for cooking or blending.
- Inspect and break up
- Spread the dried pieces on a clean tray or bowl. Break apart any lumps with your hands. Look closely for shells, pebbles, or black sand.
- Use scissors to cut away large or discolored bits.
- Rinse under running potable water
- Place moss in a colander. Rinse under cool running tap water for 30–60 seconds, moving the pieces with your hands.
- The goal here is to wash away surface dust and loose sand.
- Transfer to a clean glass bowl and cover with fresh potable water
- Use a non-reactive bowl (glass or food-grade plastic).
- Add enough water to fully cover the moss plus 2–3 inches of extra water for expansion.
- Soak for 8–24 hours
- Typical range: 8–24 hours at room temperature. Warmer water softens faster; colder water slows it.
- Change the water once or twice during the soak. Dump the cloudy water, rinse briefly, and add fresh potable water.
- Soaking does two things: rehydrates and lets remaining sand sink or float so you can remove it.
- Final rinse and pick-through
- After soaking, pour the moss into a colander and rinse again under running water.
- Use your fingers to feel for any grit. Pick out shells, pebbles, or black grains one piece at a time.
- Trim and prep
- Trim any stubborn dark spots or discolored ends with scissors.
- If you plan to make gel, place the cleaned, hydrated moss in the blender with fresh water and blend. If you plan to cook it, you may simmer or follow your recipe from this point.
Notes:
- Do not use soap or dish detergent on food sea moss. Soap residues are hard to rinse out and can change flavor.
- Use clean, food-grade storage containers for soaking and storing.
How to clean fresh (wet) sea moss
Fresh sea moss is sold wet and can be more delicate. It is often already washed by harvesters, but you still need to check it.
- Inspect carefully on a clean surface.
- Rinse thoroughly under potable running water.
- Remove shells, sea-life, or sea grass fragments by hand or with tweezers.
- Optionally soak briefly (30 minutes to a few hours) in clean water to loosen sand, then rinse again.
- Trim discolored or tough parts.
- Cook, blend, or chill as your recipe calls for.
Fresh moss may be more perishable than dried moss. Keep it chilled and use promptly, or freeze if you won’t use it soon.
Extra cleaning options and when to use them
- Salt or lemon rinse (optional): Some people use a short rinse with diluted lemon juice or a pinch of salt to remove odors and loosen debris. Rinse well with fresh water afterward. This is a cosmetic step and not a substitute for good rinsing.
- Brief blanch (cooking): If your recipe allows, a short boil or simmer will reduce microbes and soften the moss. Boiling is also part of many recipes. Heat reduces some risks but does not remove non-biological contaminants.
- Vinegar dip (rare): A short dip in a very diluted vinegar solution can help remove stubborn organisms. Rinse thoroughly after and use only food-safe concentrations.
Do not rely on these extras as proof that the product is free of contaminants like excessive iodine or heavy metals. Those require lab testing or vendor testing documentation.
Food-safety tips specific to sea moss
- Use potable water only. Tap water in most places is safe for food prep. If your tap water is not safe, use bottled or filtered water.
- Keep kitchen surfaces clean and use clean utensils. Cross-contamination matters.
- Chill prepared sea moss promptly. Store in the refrigerator at or below 40°F (4°C). If you freeze, use a freezer set for frozen storage.
- Smell and look: discard if the moss develops a bad odor, visible film, or slimy texture that wasn’t part of the expected gel texture.
- If you have a weakened immune system or special health concerns, talk to a qualified health professional before using sea moss as food or supplement.
Iodine and contaminants — what cleaning does and does not do
- Cleaning removes sand, shells, and visible debris. It removes some surface material. It does not reliably change the mineral or iodine content that is built into the seaweed tissue.
- Seaweed can contain high levels of iodine depending on species and place harvested [1][3][5]. Heating or rinsing will not guarantee a safe iodine level for everyone.
- If iodine intake is a concern — for example, if you have thyroid issues or take thyroid medication — consult a health professional and check vendor lab reports where available [2][5].
- If you want assurance about heavy metals or contaminants, ask the seller for third-party lab tests or certificates of analysis.
Decision guide: choose the right cleaning route
Use this quick decision guide to pick a cleaning method based on your starting product and goals.
| Starting product | Goal | Recommended cleaning route |
|---|---|---|
| Dried, whole pieces from trusted seller | Make gel or cook | Rinse, 8–24 hr soak with 1–2 water changes, final rinse, trim |
| Dried, dusty, many small sand grains | Max debris removal | Rinse under running water, soak and change water frequently, pick-through |
| Fresh, wet sea moss | Eat soon or freeze | Rinse, brief soak (30–120 min), trim, refrigerate or freeze |
| Pre-cleaned packaged moss | Quick prep | Short rinse, follow seller directions, then soak if recipe needs rehydration |
| Want to reduce microbes before cooking | Cook/blanch | After cleaning, simmer for recipe or blanch briefly (caution: changes texture) |
| Concerned about iodine/contaminants | Reduce intake risk | Seek lab reports, ask seller for COA, consult health professional |
This table is a practical guide. It does not replace lab testing or medical advice.
One practical full workflow example (dried to gel)
- Step 1: Inspect and remove debris.
- Step 2: Rinse under running water 30–60 seconds.
- Step 3: Soak in glass bowl with potable water for 12 hours; change water once.
- Step 4: Final rinse; pick out grit.
- Step 5: Place hydrated moss in blender with fresh water (use a 1:1 to 1:3 ratio depending on desired thickness).
- Step 6: Blend until smooth; store in clean jar and refrigerate immediately.
Note: “12 hours” is a common choice. Some people soak 8 hours; some overnight up to 24 hours. Choose within that range based on how soft you want the moss and how warm your kitchen is.
Storing cleaned or prepared sea moss
- Cleaned, hydrated sea moss: keep in a clean, sealed container in the refrigerator. Use clean spoons or utensils each time.
- Sea moss gel: many people store gel in the refrigerator in a sealed jar. Label the jar with the date you made it.
- Freezing: you can freeze cleaned sea moss or gel in airtight containers or ice cube trays for longer storage.
Do not guess about safety from time alone. If the moss looks or smells off, discard it. If you need exact fridge-or-freezer timing for safe use, consult a food-safety authority or resource.
When to contact the seller or stop using a batch
- You find shells, pebbles, or lots of black sand after cleaning.
- The moss has a rotten or putrid smell after cleaning.
- You suspect the seller did not disclose cleaning or harvesting methods you consider unsafe.
- You want lab results (iodine, heavy metals) that the seller cannot provide.
If you are a buyer, ask sellers for handling instructions and lab test documentation. If the seller cannot provide basic answers about sourcing and testing, consider choosing a supplier who can.
Next useful guides
- Want to make sea moss gel? See our step-by-step gel recipe and tips at /learn/.
- Ready to buy cleaned or bulk sea moss? Browse options at /shop/ and learn about volume orders at /wholesale/.
- Questions about a specific batch or order? Contact our support team at /contact/.
- Return to the home page for more on sea moss and supplies: /.
Conclusion
Cleaning sea moss is mainly about removing visible debris and rehydrating the product. Use potable water, choose the right soak time for your needs, rinse well, and pick through pieces by hand. Cleaning reduces grit and loose material but does not guarantee anything about iodine or other minerals inside the seaweed. When in doubt, ask the seller for test results and consult a qualified professional about iodine or health concerns. Use the checklist above to decide which method fits your product and plans, and follow safe food-handling steps when storing and using the moss.
Continue reading
Frequently asked questions
Do I need to use filtered water to clean sea moss?
Filtered water can be used, but it is not required if your tap water is potable and safe to drink. The key is to use clean, drinkable water. If you doubt your tap water, use bottled or filtered water.
How long should I soak dried sea moss?
Common practice is 8–24 hours. Shorter soaks (8–12 hrs) soften the moss. Longer soaks (up to 24 hrs) rehydrate it more fully. Change the water once or twice to remove debris.
Will rinsing change iodine or mineral content?
Rinsing removes surface dirt and loose material but does not reliably change the internal iodine or mineral content. Iodine levels vary by species and harvest location [1][3][5]. If iodine is a concern, seek vendor lab tests or ask a health professional.
Can I boil sea moss to clean it?
Boiling will reduce microbes and soften the moss. It is part of many cooking methods. Boiling is not a replacement for the rinsing and picking steps that remove sand and shells.
Is it safe to eat sea moss raw after cleaning?
Some people eat rehydrated sea moss raw (e.g., in a blended gel). If you plan to eat it raw, clean it well and store it correctly. If you have health concerns or a weak immune system, talk to a health professional before eating raw sea products.
Where can I find lab test information on iodine or contaminants?
Ask your seller for a certificate of analysis or third-party lab results. Trusted sellers often provide this on request. If a seller cannot provide lab data and you need assurance, consider using a seller who shares testing information.
References
- [1] Harvard T.H. Chan School of Public Health, “Seaweed.” https://nutritionsource.hsph.harvard.edu/seaweed/
- [2] Smyth PPA. “Iodine, Seaweed, and the Thyroid.” European Thyroid Journal, 2021. https://pmc.ncbi.nlm.nih.gov/articles/PMC8077470/
- [3] Food Standards Australia New Zealand, “Survey of iodine levels in seaweed and seaweed containing products,” updated 2025. https://www.foodstandards.gov.au/science-data/monitoring-safety/surveyofiodinelevels
- [4] Operation Supplement Safety, “Sea Moss in Dietary Supplements.” https://www.opss.org/article/sea-moss-dietary-supplements
- [5] Blikra MJ et al. “Consequences of acute and long-term excessive iodine intake: A literature review focusing on seaweed as a potential dietary iodine source.” 2024. https://doi.org/10.1111/1541-4337.70037